How to sterilize jars with blanks at home, step-by-step instructions with video
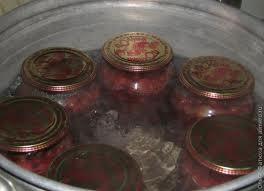
Sterilization of full (filled) jars is another method for destroying microorganisms that contribute to rapid spoilage of canned foods, as well as sterilizing empty jars and lids. Sterilizing full jars is another way to keep homemade preparations for the winter safe and sound. And how to properly sterilize full jars.
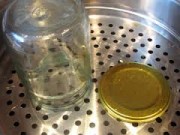
To do this, we will place kitchen towels or other clean cloth folded in 5-6 layers at the bottom of a wide pan. Instead of fabric, you can use a specially made wooden lattice or circle.
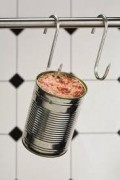
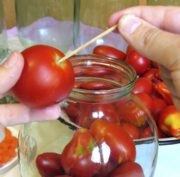
Place jars filled with homemade ingredients on top of the fabric.
Pour warm water into the pan. The temperature of the water being poured must be no less than the temperature inside the jar itself, because If there is a large temperature difference, our jars may simply burst. You need to pour in enough water to cover the jars up to their shoulders.
We cover the jars with metal lids, but do not screw them on.
Cover the pan with a lid and let it boil.
After boiling, reduce the heat. During sterilization, the water should not be allowed to boil violently, as if it boils too strongly, it can get inside our jars.
After boiling, boil homemade preparations depending on the size of the jar. Sterilization time for full jars:
0.5 liter - 10-15 minutes;
1 liter - 20-25 minutes;
3 liter - 30-35 minutes.
When the sterilization time has expired, carefully remove the jar and screw it on.
After twisting, I usually turn the jars upside down and wrap them in heat until they cool completely.
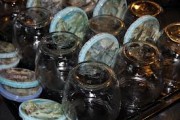
This is how you need to sterilize jars with winter preparations (full or filled) at home.
You can see how full jars are sterilized in the video. Here, however, more attention is paid to the sterilization of jars with metal clamps, but this does not affect the principle of sterilization itself.

Categories
- In its own juice (39)
- Mushrooms for the winter (58)
- Freezing (137)
- How to store (154)
 Pickling (228)
- Meat for future use (138)
 On a note (20)
- Little tricks (4)
- Sterilization of jars (7)
- Beverages (213)
- Miscellaneous (136)
- Fish for future use (80)
- Salads (151)
- Sweet preparations (634)
- Pickling-fermentation (166)
- Sauces (59)
- Drying (141)